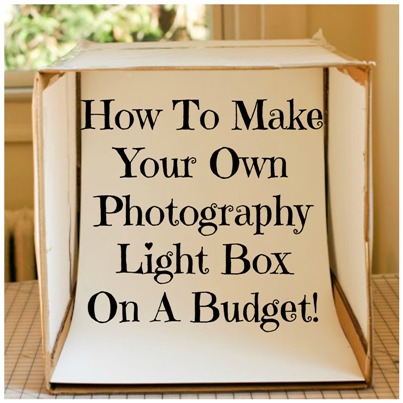
We all know that taking photographs of your work is easy if you use natural sunlight and get creative with the background. But what if it’s cloudy or raining outside? Do you have to wait for it to stop?
 Why not build your own indoor photography studio on a budget?
Setting up studio lighting is a very costly adventure. But, who’s to say you can’t get professional results using light strips that you have built yourself? Even if you have no carpentry skills, you can whip up some great lighting at a fraction of the price.
Take a look at this video by Auctiva and see how to make a lightbox for your handmade products:
 Here’s what you will need:
- A box – It could be any size you want as long as you can light it! I prefer it to be as square as can be. You can find boxes anywhere for free. You can also find boxes in the back of strip malls, grocery stores, appliance stores or basically any place that makes or sells products. The thicker the better! (Free)
- White fabric – This again could be any type. In the tutorial he is using white tissue paper. You can also try a white muslin fabric that can be found at your local arts and craft store. Buy enough to cover the entire box. (approx.$4.00 US or $1.99 a yard) Some people have suggested other fabrics like white nylon and white fleece. If you’re on an extreme budget and have some white under shirts laying around, cut up the sides to where you have two halves of the shirt. If you use multiple shirts, be sure that the color matches or your end result may not turn out as you wish.
- 1 pc. of white poster board – This will line the inside of the box and will also serve as your background (.50 a sheet X2). I would suggest to buy 2 or 3 sheets as you will be cutting up two to line your box (could be more depending on the size of your box) and one for the background. You can also try a Bristol board which is a heavyweight paper (.006? Thick) that is used in drawing/art. The name came from where it was originated, Bristol England. If you wanted a different background you can also pick up different colors.
- 2 light sources with fluorescent bulbs – You will need to light this box and this could be the most expensive part of the box unless you already have the lights. In my opinion lighting is the most important part of this box. Without it you will not get the picture you desire. Using regular light bulbs will cast a yellow light and should be avoided. Basically any “Full Spectrum” light bulbs will do.
- Box cutter
- Ruler
- Scissors
- Tape
- Marker
So there you have it. Make your handmade items photos look even better by building this budget lightbox setup and improve your Etsy store’s look and feel to your visitors who browse your shop.
Take your craft photos to the next level and make them professional-looking by checking our list of photography tips for your products.
- DIY Chicken Wire Jewelry Holder - June 27, 2022
- Jewelry Designer Manager Alternative - December 8, 2019
- 3 Tips To Immediately Boost Your Sales Today - May 12, 2019

